Related Posts Plugin for WordPress, Blogger...

Monday, January 30, 2012

I'm soooo excited!!! My parents bought be sewing classes for my birthday!!!  I am taking an online sewing class with one of my favorite bloggers - Rachel from Stitched in Color.  She has so many great projects on her blog.  And starting February 1st, she is starting an online curves class. Sewing curves are so intimidating to me.  She promises to have video tutorials for 14 projects over the course of 5 weeks.  Ahh - can I make them all???

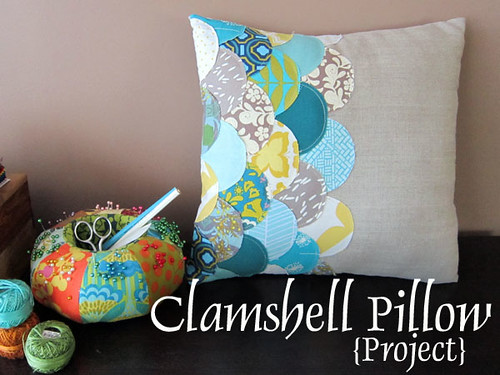
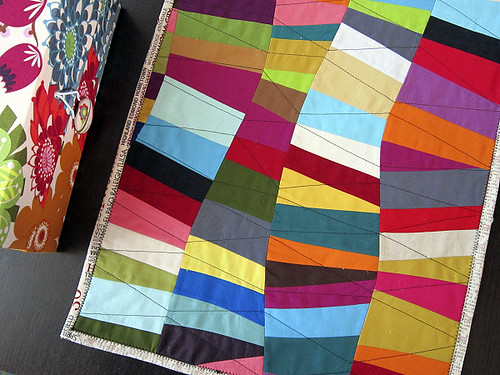
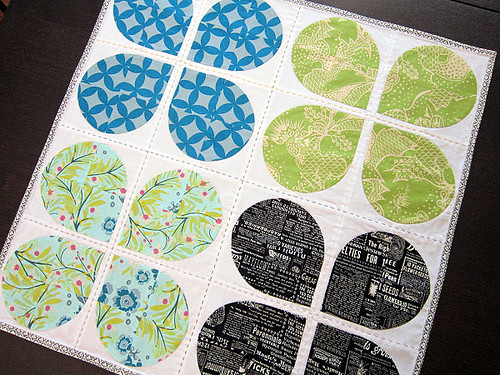
Here are some of the pictures she has posted as sneak peaks:
*all images taken from Stitched in Color website


Let the sewing projects begin!!!


PS: There is still room.  If you are interested in joining in the fun - you can reserve your spot here.

Sunday, January 15, 2012

Janaury Quilting Bee

Dear fellow bee members:

I'm very excited for January being my month in the bee.  I had a lot of fun designing this quilt - and I thought I"d share the process with you!  So here we go :

I want to do a valentine's quilt that is inspired by the colors: red/pink and gray.  So I went to a LQS near my parent's house in NJ and pulled fabrics. (This was so much more fun than buying fabric online).


Then, I had to come up w/a  design.  I don't have any fancy quilt designing software - so when it comes time to design a quilt I have to go the old fashion way: paper and pencil.  I usually draw somethings up in paint, so I can print off a couple templates.  But the majority of it is done w/markers, pencils, crayons, etc.  

Here is a picture of the final design I chose: 


And then some research on flickr led me to this quilt.  I liked the variability in the block colors.  

So, I'm keeping my design and color palate and will end up w/blocks that look something like: 


Included in everyone's packet is: 
1 large rectangle of fabric
4 strips of contrasting color fabric
4, 8x8" paper pieces
assignment: X or O

It requires the sewer to make 4 paper pieced blocks and then assemble them into 1 larger quilt block in the shape of an X or an O.  I drew the lines on only 1 of the paper squares.  So you will need to add the lines to the remaining 3 blocks to complete the pattern.  The center lines are drawn 1" away from each corner.  Does that make sense?? I hope so.

This block is pretty easy to make.  I know paper piecing sounds scary to some folks, but really this block doesn't even really require it.  Think of this as more of a string block w/only 1 string down the center.  I chose to paper piece these blocks because I thought it was the easiest way for me to make my blocks equal ensuring that the letters lined up nicely.  Plus it made it easier in sharing directions w/you guys.  

If you aren't familiar w/paper piecing, here is a tutorial I used when I was first learning: 

A few notes on the paper pieces I included: 
1. I did not include numbers.  Since there are only 3 sections, you can just sew in a line (triange -> strip, then add 2nd triangle).  Please let me know if anyone has any questions - I can post more pictures if needed. 

2. I didn't draw seam allowance lines.  Just sew 1/4" seam allowance to assemble the 4 blocks.

3. I didn't include a TON of extra fabric - so be mindful when placing your fabric and paper.  You can "test" it out before you sew to help make sure all corners will be covered w/fabric. 

4. REMEMBER - turn down your stitch length to ~1.4-1.8ish - this way it will help perforate the paper, making it easy to rip off in the end, w/o ripping your stitches.

That's it!  Please don't hesitate to ask questions here or on Flickr!  Happy sewing!!


Hobbying Around | Template By Rockaboo Designs | 2012